
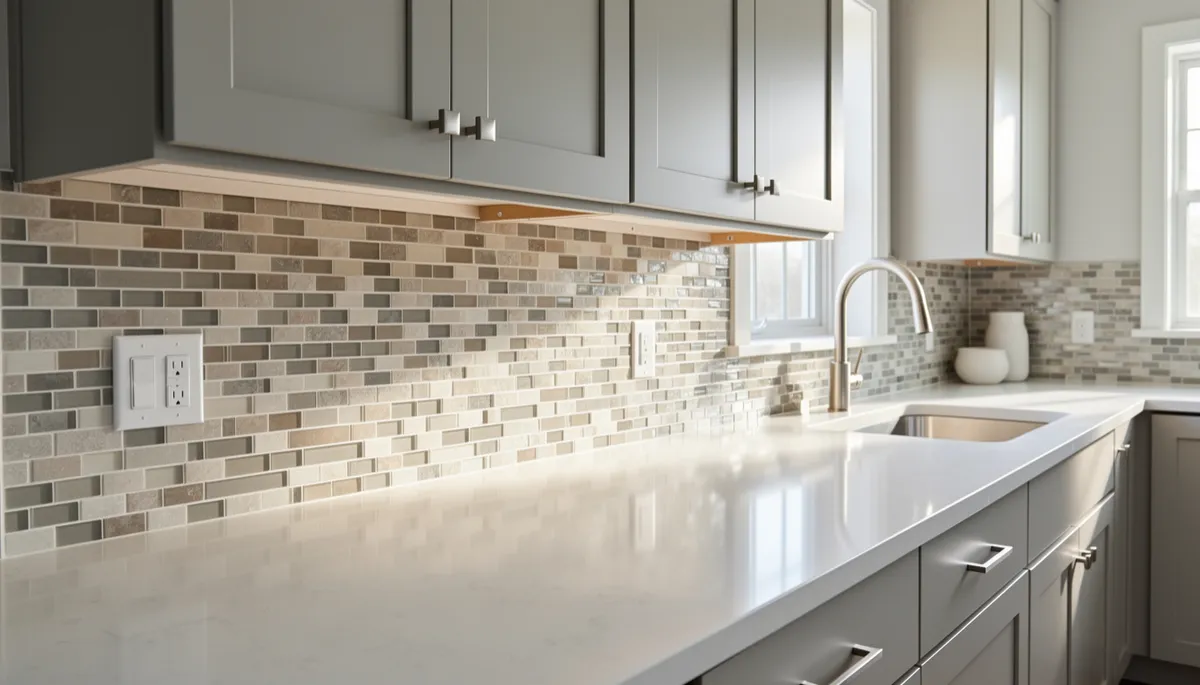
How to Install Mosaic Tile Backsplash in Your Kitchen
Adding a mosaic tile backsplash is one of the most impactful ways to update your kitchen. Whether you’re refreshing the space or tackling a full remodel, mosaic tiles bring color, texture, and personality to your walls. If you’re comfortable with detailed DIY projects, you can install a mosaic tile backsplash with the right prep and tools. Here’s a practical guide to help you get the job done right.
What prep work do I need before installing mosaic tile?
Good prep is the backbone of any lasting tile job. Start by clearing the countertop and removing any old backsplash. You’ll want a smooth, clean, and dry wall — usually drywall or cement board. Fill holes, sand rough spots, and wipe away dust. Outlets and switch plates should be removed, and it’s smart to shut off power to those circuits. Protect your countertops with a drop cloth or plastic sheet, and tape off edges where you don’t want adhesive or grout. Take a moment to plan your layout, measuring the area and dry-fitting a few tile sheets to see how they’ll fall. This avoids surprises later.
Do I need special tools or materials for mosaic tile?
Mosaic tiles usually come in sheets on mesh backing, which makes them more forgiving than single tiles, but you’ll still need some specific gear:
- Notched trowel (usually 3/16" or 1/4" V-notch for mosaics)
- Tile cutter or nippers (for glass or stone mosaics)
- Level and measuring tape
- Bucket and sponge
- Thin-set mortar or tile adhesive (check your tile type)
- Grout (sanded or unsanded, depending on gap size)
- Rubber grout float
- Painter’s tape
Some mosaics, especially glass tiles, may need a specialty adhesive. Always check the manufacturer’s recommendations. If you’re feeling unsure, a pro tile installer can help you select the right products. Visit our mosaic tile installation page for more details about our approach and material selection.
How do I actually put the mosaic tiles on the wall?
Once you’ve got your wall prepped and materials ready, it’s time to get to work. Here’s a typical installation sequence:
- Apply adhesive: Use your notched trowel to spread thin-set mortar in a small section, just enough for one or two sheets.
- Set the sheets: Press the mosaic sheets firmly into the adhesive, lining up edges. Use a slight twisting motion for good contact. A grout float can help press the sheets evenly.
- Keep it level: Check with your level as you go. Adjust sheets before the adhesive sets, and use spacers if necessary for consistent grout lines.
- Cut as needed: When you reach outlets, corners, or cabinets, cut sheets with a utility knife (for mesh) and the individual tiles with tile nippers or a tile cutter.
- Let it set: Once all sheets are up, let the adhesive cure as directed—usually overnight.
It’s important not to rush this step. If sheets start to slide or sag, you may be applying too much adhesive, or the substrate may need more prep. For a seamless finish, consider a professional backsplash installation.
How do I grout mosaic tile, and what should I watch out for?
Grouting mosaics can be tedious because of all the joints, but it’s straightforward if you take your time. Once the adhesive is set:
- Mix the grout: Prepare grout according to the instructions. For small gaps (under 1/8"), use unsanded; for larger, use sanded.
- Apply grout: Use a rubber float to spread grout over the tiles, pressing it into all joints. Hold the float at a 45-degree angle for best results.
- Clean excess: After about 10–20 minutes, use a damp sponge to wipe away grout haze from the tile faces, rinsing the sponge often. Don’t use too much water.
- Final buff: Once grout is set but not fully cured (usually a couple of hours), buff the tiles with a dry cloth to remove any remaining haze.
Grout color can change the look of your backsplash dramatically. Always test a small area first if you’re unsure. If you’re working with glass or natural stone mosaics, make sure your grout won’t scratch the tiles—check with your material supplier or installer. Our tile installation service covers all these details for a polished result.
What mistakes should I avoid with mosaic backsplashes?
The most common issues we see are rushing the layout, skipping prep, or using the wrong materials. Here’s what to watch out for:
- Poor wall prep: If the wall isn’t flat or clean, tiles may not stick properly.
- Uneven sheets: Not checking with a level as you go can result in crooked lines.
- Wrong adhesive: Not all adhesives work with every tile type, especially glass and stone.
- Grout haze: Waiting too long to clean grout can leave stubborn residue.
- Cutting corners: Rushing corners or outlet cuts can make the job look sloppy.
Taking your time and double-checking each step is the best way to avoid headaches. If you want professional results without guesswork, a kitchen remodeling expert in Vista, CA can ensure everything is done right the first time.
Can I install mosaic tile backsplash over existing tile or painted walls?
It’s possible, but not always recommended. Installing over existing tile can work if the old tile is securely attached and the surface is clean, but you’ll need to rough up the surface so the new adhesive can grab. For painted walls, the paint should be sound and not peeling; scuffing with sandpaper helps adhesion. However, these shortcuts can sometimes cause the new tile to fail, especially in kitchens where moisture and heat are factors. When in doubt, removing the old surface and starting fresh is the best option for a lasting job.
Frequently Asked Questions
How long does it take to install a mosaic backsplash?
For an average-sized kitchen, most homeowners can expect the job to take two to three days. That includes prep, setting the tile, letting the adhesive cure overnight, and then grouting. Larger or more intricate backsplashes can take longer.
What’s the best way to cut mosaic tiles?
For straight cuts, a manual tile cutter works well for ceramic and some glass mosaics. For curved or small cuts, tile nippers let you trim individual tiles. For glass or stone, a wet saw gives the cleanest cuts but may not be necessary for small jobs.
Can I use peel-and-stick mosaic tiles instead?
Peel-and-stick options are available and can be installed quickly, but they may not last as long as traditional tile set with mortar and grout, especially behind stoves or sinks where heat and moisture are common. Traditional installation offers greater durability and a more finished look.
Do I need to seal mosaic tile or grout?
If you use natural stone mosaics or porous grout, sealing is important to prevent stains and moisture issues. Glass and glazed ceramic mosaics usually don’t need sealing, but sealing the grout can help keep it looking fresh.
If you’re considering a mosaic tile backsplash and want professional guidance or a full installation, reach out to MMI Inc Kitchen & Home Remodeling Design. We work with homeowners throughout Vista and nearby areas to create standout kitchens that last. Contact us to discuss your project and get expert help every step of the way.
